|
|
|
Digital Darkroom
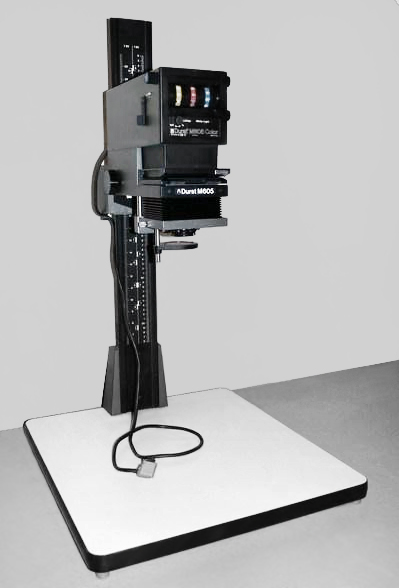
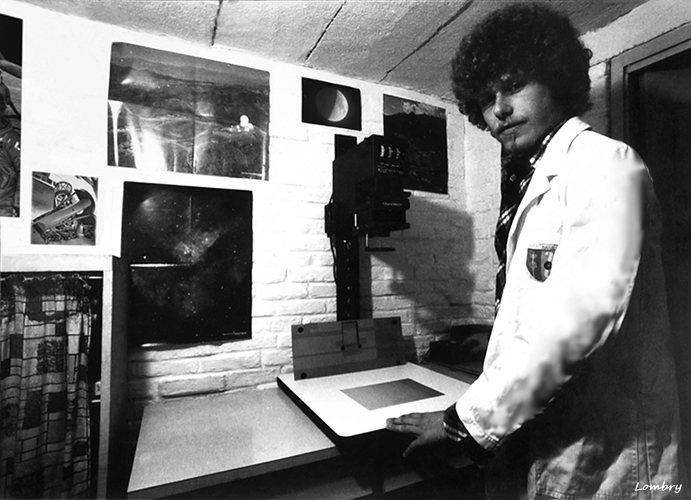
Tribute to William C. Miller First of all I would like to dedicate this page in the memory of William C. Miller (1910-1981), Bill, the chief photographer from Palomar Observatory who shared with me his passion for astronomy and astrophotography and who left us too soon. Good and bad practices (I) During the last century - yes, long time ago ! - it was not uncommon to hear in a photo lab a technician shouting "Close the door please, keep this room dark...!" But since the invention of digital imaging (Vidicon camera in 1958, and Sony Mavica DSLR in 1981) the darkroom and its famous color enlarger (e.g. Durst M605 that I used in the past) became useless at such a point that today they are relegated to museum close to the plate cameras and other argentic reflex. Other time other technology. However, to look at an image in all its colors and details or to correct it, we do till need to work on a computer placed in a room plunged into a subdued lighting, so that we can see all the range of colors and possible artifacts (see this article about color management written in French). If the technology has much improved since the last century, the fundamental principles of photography remain the same : the image is made of black and white or colors pixels (picture elements) that show some characteristics in terms of luminance, focusing, resolution, etc., some depending on the optical system used others on the processing performed on this raw document. As professional photographer I learnt how an image had to be correctly exposed and developed or postprocessed before publishing. No print can leave our laboratory if it displayed the least artifact or dominance. The most severe professor even refused pictures badly framed. It was a good school. Today, browsing amateur websites, I see too many times unbalanced images, offering unaesthetic dominances in dim areas, a too high or too low contrast, a too steep gamma or a sharpness pushed too high. Others display artifacts, are too noisy due to a bad usage of high-pass filters or display green or red dominance. At last some amateurs think that their large scope can do all, but they forget that turbulence, a light mount, a bad focusing and a bad collimation will quickly ruin their hopes. Here are a some examples of pictures found on the web and on loan from their authors who accepted that I postprocessed them to improve their quality, often hidden in the original raw picture. Results are eloquents...
Using CCD cameras the problem is worse as many newbies do not even process their images and publish their raw results as it with all their defects and color shifts. It's a pity because some simple digital processes can greatly improve their result and develop their know how. Too many pictures show "black eyes" around stars, due to a too heavy filtering (sharp or deconvolution), other let the blooming apparent, etc. All these defaults must be substracted. To buy : Anti-Blooming Filter Software, by Kazuyuki Tanaka
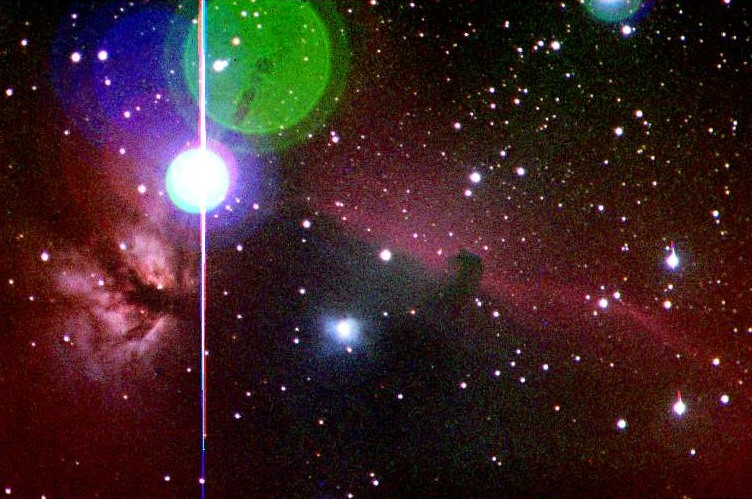
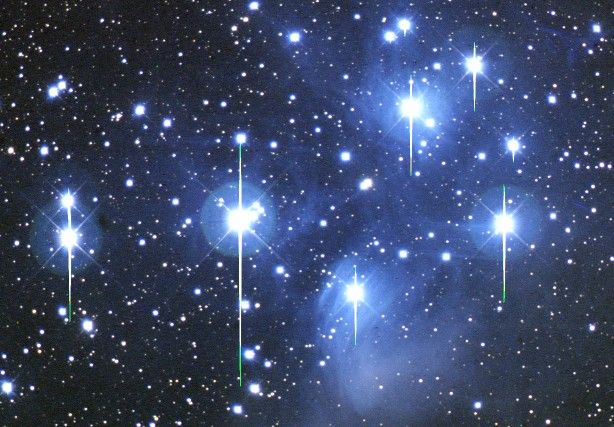
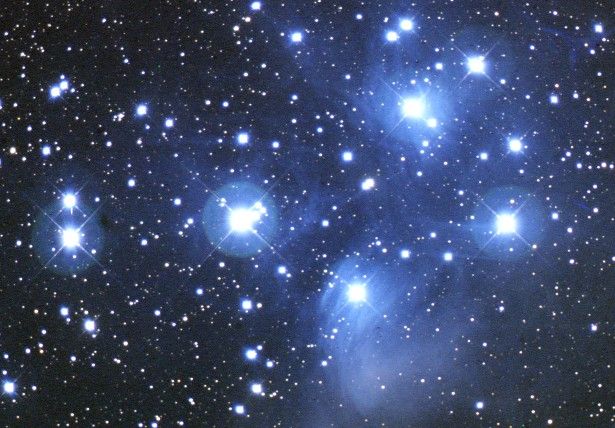
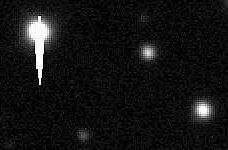
All these defaults are artifacts that can be suppressed using dedicated tools. The benefit is obvious and transforms these ordinary documents in marvellous images worthy of appearing in contests or being sold as posters. Closeup on the blooming and the "black eyes" effects : digitally recording brigh stars during a too long exposition or working the postprocessing too far, these two unaesthetic effects can appear. Here are two "fine" examples :
Low density features (high spatial frequencies or small details) are often drowned in the CCD noise or in the film grain producing blurry images. Various natural phenomena can amplify this problem like an inaccurate focusing or collimation, the turbulence, and the planetary rotation (e.g. Jupiter if a sequence is exposed over 10 minutes). To extract these details various techniques can be used from unsharp masking to homemade mathematics algorithms. The latest and most powerful tool is the maximum entropy deconvolution, a magic function available in image processing software like MaxIm DL from Cyanogen among others. This sophisticated feature can reduce the atmospheric seeing or even telescope aberrations errors.
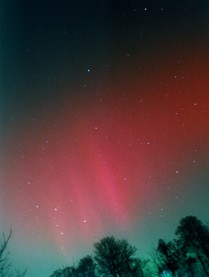
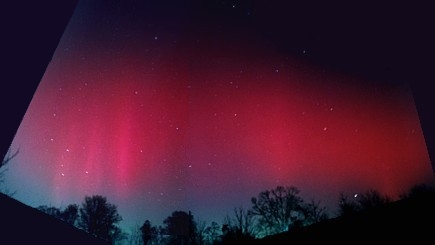
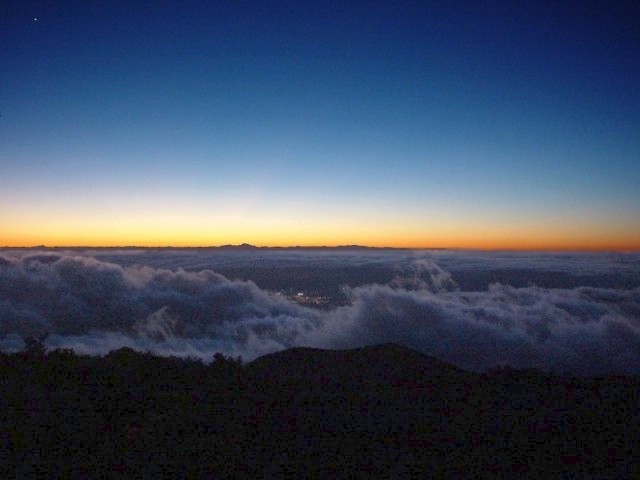
At last, such techniques and many others can be used with success on conventional pictures. Take two examples. At sunrise or picturing a landscape at eve, the foreground is usually underexposed against the sky. Most photographers try to get a good picture of the sky and forget the foreground. When it takes half of the image this is really a pity to not ligh it up, as many times it reveals interesting features that should give depth to your picture. This effect is either hard nor impossible to manage in the field due to the high contrast between the high and low lights. Even the use of a flash can not solve the problem. Either you overexposed the sky, or your underexposed the foreground. In this case only a post processing can enhance the foreground without altering the sky and its subtil tonalities. The second example concerns dominances that we can see on many amateurs pictures who often publish their raw images as such, without the least postprocessing. The background displays a red to magenta dominance at sunset or the underexposed shadows display an unaesthetic green dominance. If such dominances are sometimes welcome, at some occasions they need to be removed, a task not always easy to perform without adding another tonality. Usually, such corrections can be performed in changing the image gamma, contrast and luminosity for all 3 channels (RGB) as we can see in the next examples.
So it is with all these cases in mind that we are going to see how to greatly improve the quality and colors of your pictures. You will see that using a simple image processing software, a bit of patience and skills you can compete versus pros. Next chapter |
|||||||||||||||||||||||||||||||||||||||||||
|
Page 1 - 2 - |
||||||||||||||||||||||||||||||||||||||||||||
|
|
||||||||||||||||||||||||||||||||||||||||||||


