Using the Lhires III spectrograph
If you have questions, do not hesitate to ask on the Spectro-L list.
Once you've made all adjustments of the instrument, you're ready to acquire your first star spectra... This section describes the operations to do at every observation. Here is the setup we've used for illustrations
- Telescope C8 (200mm)
- GP-DX mount
- Spectro Lhires III with 2400 g/mm grating
- Acquisition CCD Camera : Audine KAF0400 (1st generation
)
- Guiding camera: PAL videosurveiliance camera, visualized on a TFT monitor - plus a grabber to acquire pictures in Iris software.
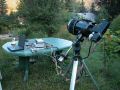
Lhires III on C8
Many other configurations are possible, and the approach will be very similar.
Operation to be done during daylight
As often is spectro, a part of the preparation operations can be done during daylight - it's even preferable ! We consider that your telescope is ready, and you CCD camera as well.
Mounting the Lhires III on the telescope
- Be sure that the instrument is strongly attached to the telescope.
- Position the spectro in order to have the slit parallel to the RA movement (if you don't know it yet, you'll make that later).
Balacing the telescope
- Depending on your mount capacity, you should have to add some weight. It's my case... well my mount is pushed at its limit !
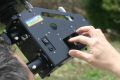
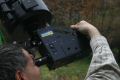
Focusing the guiding camera
- Point the telescope to the sky (not to the sun !)
- Slide the camera up to have a focused image of the slit. Turn the camera to have the slit horizontal.
- Move the camera (and tighten it) in order to have the slit center in the center of the image.

focusing on Chamrousse (french alps :-)
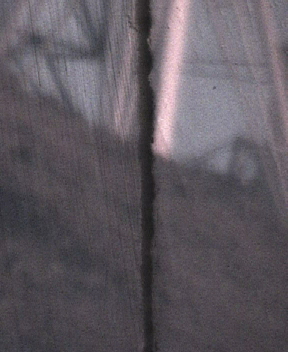
Focusing the telescope
- Point the telescope to the horizon line (it's better to live in moutains... but not madatory !).
- Focus the telescope up to get an accurate picture of the horizon (trees, moutains...).
- Note: during this adjustment, the slit remains focused.
Focusing the acquisition CCD camera
Doublet adjustment (focusing)
- Protect the instrument from the day light.
- Switch on the neon lamp, and put it in front of the slit (turning the button).
- Adjust the grating angle in a region with neon lines. The easiest is aroud Ha (6563 A), where there are 2 well known lines - thanks to Nature ! During the tuning of your instrument, you should have recorded the micrometer value for Ha.
- Acquire pictures continuously, and identify these lines
- Open one of the side doors.
- Focus the spectrum on the CCD picture, by turning the collimation lens holder.
- If you're in full light, you should have to close the side door between each picture (because of the parasites).
- At the end, tighten smoothly the nylon screw, to block the lens holder.
- At optimum, the FWMH should be around 3 to 4 pixels.
- Note: If you change the observation wavelength, you may have to re-tune the focus.
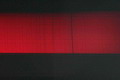
before and after focusing....
A first spectrum acquisition
- Switch off the light, and remove it from the slit (by turning the button)
- Point the sky - not the sun !
- Make a first acquisition (short time, around one sec)
- You should have a wonderful absorption line... which should prove that you're sticked to Ha !
This time, you're really ready... just wait for the night.
Operations to be done during the night
Point a brighting star (Vega...) and get it in the guiding picture.
Control the telescope in order to put the star in the middle of the slit
Note that during the night, the slit is not visible anymore in the guiding picture. You've got it when the star disappears...
If required, fine tune the telescope focusing.
Adjust the grating angle to the desired wavelength.
If you have any doubt, go straight to Ha !
You can launch the acquisitions...
As a reference, be aware that a brighting star requires a pose duration of about 1 minute.
- During all the acquisition, the star must remains in the slit center. If required, correct the telescope position. By experience, depending of your mount quality, you could have 5min exposure with no corrections... or correct it permanently !
- If you've it, it's time to switch on the autoguiding !
You're now ready to make many, many acquisitions... Refer to dedicated documentation to process your CCD images, and get the best from your instrument !
We're waiting impatiently for your first spectra... Do not forget to share your exeperience on Spectro-L distribution list, and help us to improve this documentation !
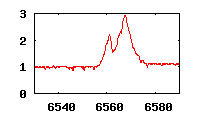
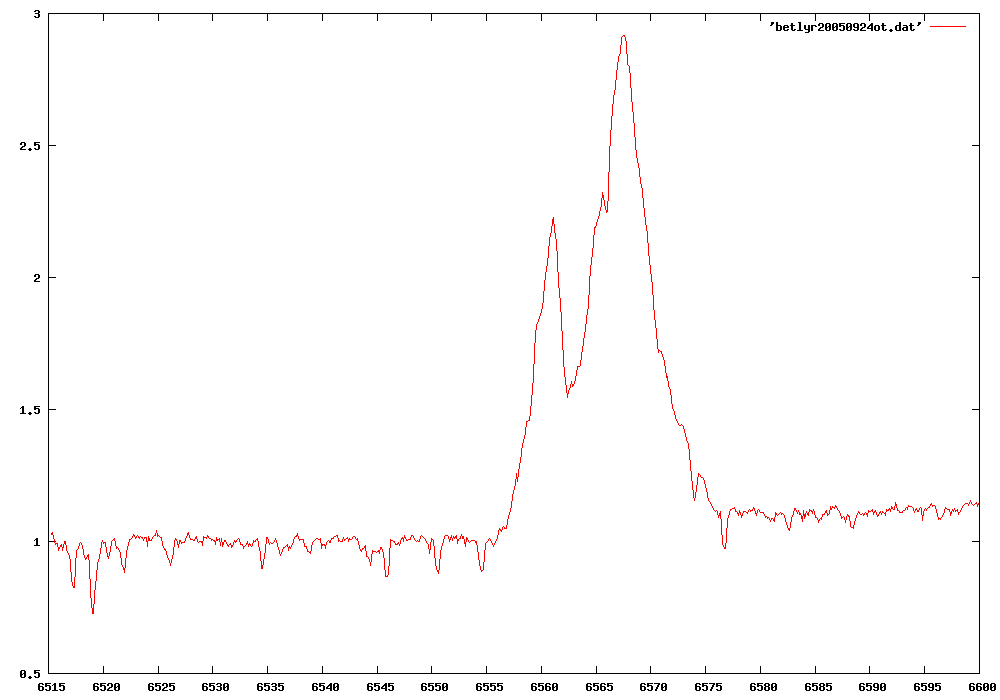
Beta Lyrae spectra... "Les étoiles Be, c'est trop cool"! :-)
)
)

)